Let’s dive in some creative ideas for the kids to have fun learning, surpassing the theoretical boredom for the day! That’s why, here we present some quick science experiments for kids to perform using casual inputs/materials.
Experiment 1: Dancing Raisins
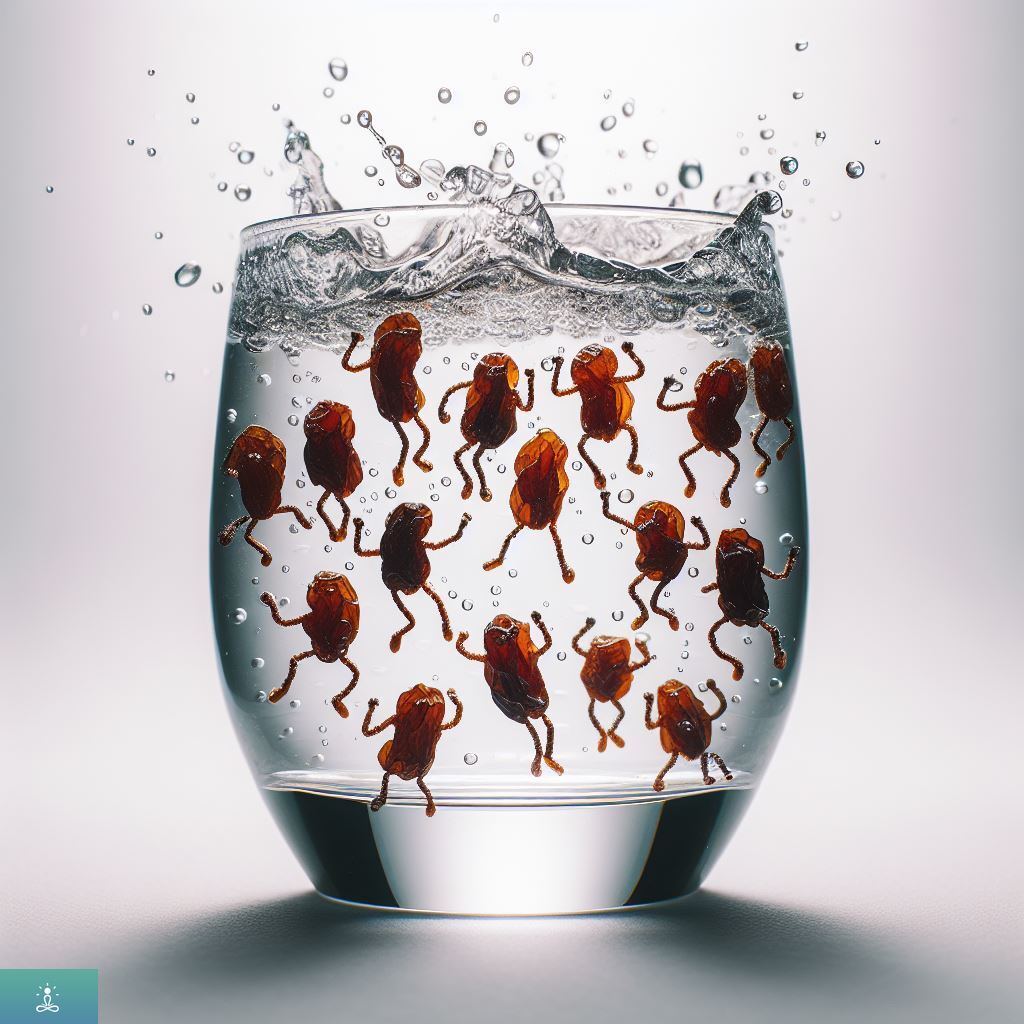
Objective: Demonstrate the concept of buoyancy and gas release using simple household items.
Materials Needed:
- Clear glass or jar
- Carbonated water (such as club soda or sparkling water)
- Raisins
Procedure:
- Begin by filling the clear glass or jar about halfway with carbonated water.
- Drop a few raisins into the glass of carbonated water. Ensure the raisins sink to the bottom initially.
- Observe what happens to the raisins once they are in the water. You should notice that they sink to the bottom at first.
- As the raisins remain in the carbonated water, tiny bubbles of carbon dioxide gas will adhere to their rough surfaces.
- These bubbles will eventually cause the raisins to become less dense than the surrounding liquid, leading them to rise to the surface.
- As the bubbles reach the surface and pop, the raisins will lose their buoyancy and sink back down to the bottom.
- This cycle of rising and sinking will continue as long as there are carbon dioxide bubbles being released in the water.
- Observe and discuss with students the reasons behind the movement of the raisins and the role of gas release and buoyancy in this experiment.
Explanation:
- The carbonated water contains dissolved carbon dioxide gas, which is released in the form of bubbles when the pressure is lowered (i.e., when the bottle is opened).
- When the raisins are dropped into the carbonated water, they sink initially due to their density being greater than that of the surrounding liquid.
- As carbon dioxide bubbles adhere to the surface of the raisins, their buoyancy increases, causing them to rise.
- Once the bubbles reach the surface and pop, the raisins lose their buoyancy and sink back down.
- This process repeats as long as carbon dioxide bubbles are being released in the water, resulting in the raisins appearing to dance or move up and down.
Experiment 2: Homemade Lava Lamp
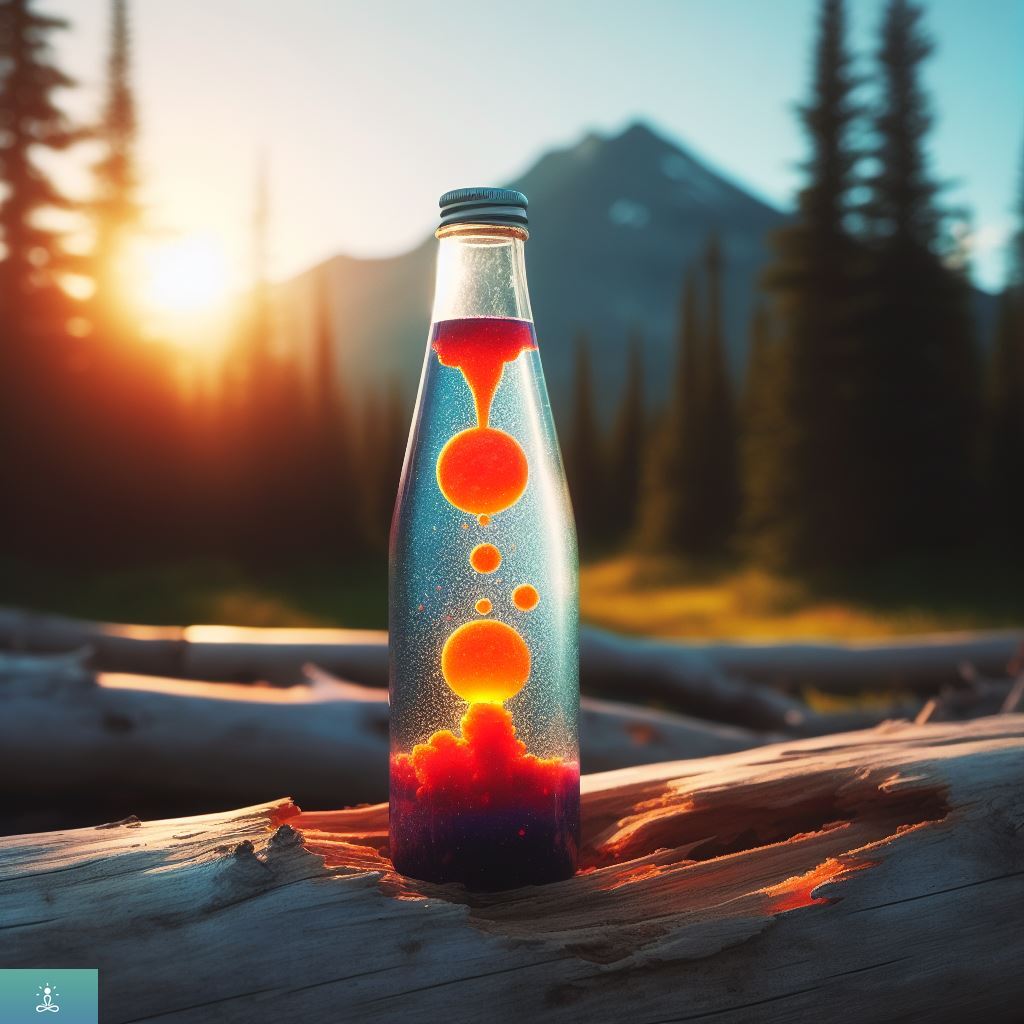
Objective: Demonstrate the principles of density and polarity using household materials to create a homemade lava lamp.
Materials Needed:
- Clear plastic or glass bottle
- Vegetable oil
- Water
- Food coloring
- Effervescent tablets (such as Alka-Seltzer)
Procedure:
- Begin by filling the clear bottle about two-thirds full with vegetable oil.
- In a separate container, mix water with a few drops of food coloring. The color choice is up to you, but vibrant colors work best for visibility.
- Slowly pour the colored water into the bottle with the vegetable oil. The water and oil will not mix due to differences in density and polarity, resulting in the colored water sinking to the bottom of the bottle.
- Once the colored water has settled at the bottom, break an effervescent tablet into smaller pieces or halves.
- Drop one piece of the tablet into the bottle and observe what happens. As the tablet reacts with the water, it releases carbon dioxide gas bubbles.
- These gas bubbles will attach to the colored water droplets, causing them to rise through the oil in a mesmerizing display reminiscent of a lava lamp.
- As the bubbles reach the top of the bottle, they will pop, releasing the gas and causing the colored water droplets to sink back down to the bottom.
- Continue adding pieces of the effervescent tablet as needed to maintain the lava lamp effect.
Explanation:
- The vegetable oil and water do not mix due to differences in density and polarity. Oil is less dense than water and nonpolar, causing it to float on top.
- When the effervescent tablet reacts with the water, it releases carbon dioxide gas bubbles. These bubbles attach to the colored water droplets, causing them to become less dense than the surrounding oil and rise.
- As the bubbles reach the top of the bottle, they pop, releasing the gas and causing the colored water droplets to sink back down due to their increased density.
- This cycle of rising and sinking creates the mesmerizing lava lamp effect, demonstrating the principles of density and polarity in a visually captivating way.
Experiment 3: Magic Milk

Objective: Demonstrate the properties of surface tension and chemical interactions using milk, dish soap, and food coloring to create a mesmerizing display.
Materials Needed:
- Milk (whole milk works best)
- Dish soap
- Food coloring
- Shallow dish or plate
- Cotton swabs or toothpicks
Procedure:
- Begin by pouring enough milk to cover the bottom of the shallow dish or plate. The milk should be at room temperature for optimal results.
- Add drops of different-colored food coloring to the milk. Scatter the drops around the surface of the milk but avoid mixing them together.
- Dip a cotton swab or toothpick into dish soap.
- Touch the soapy cotton swab or toothpick to the surface of the milk where the food coloring drops are located. Do not stir the milk.
- Observe the mesmerizing display as the colors begin to swirl and move across the surface of the milk.
- Continue adding drops of dish soap to different areas of the milk to create new patterns and effects.
- Experiment with different techniques, such as gently touching the surface or quickly tapping the dish soap onto the milk, to observe how it affects the movement of the colors.
- Once you’ve finished experimenting, you can discard the milk mixture and rinse the dish or plate with water.
Explanation:
- Milk contains fat molecules, which have a property called surface tension. This tension holds the milk’s surface together.
- When dish soap is added to the milk, it disrupts the surface tension and interacts with the fat molecules.
- As the dish soap spreads across the surface of the milk, it carries the food coloring with it, creating swirling patterns and movements.
- The movement occurs because the soap molecules are attracted to the fat molecules in the milk, causing them to move and mix together.
- This experiment demonstrates the principles of surface tension and chemical interactions in a visually captivating way, providing an engaging learning experience for children.
Experiment 4: Balloon Rocket

Objective: Demonstrate the principles of thrust and propulsion by creating a balloon-powered rocket.
Materials Needed:
- Balloon
- String
- Straw
- Tape
- Scissors
- Lightweight materials for making the rocket (e.g., paper, cardboard, plastic)
Procedure:
- Begin by constructing a simple rocket using lightweight materials. You can use paper, cardboard, or plastic to create a basic rocket shape. Ensure it is lightweight and aerodynamic for optimal performance.
- Cut a piece of string long enough to stretch across the room or designated launch area. Tie one end of the string securely to a stationary object.
- Thread the other end of the string through the straw. Secure the straw to the rocket using tape, ensuring it can move freely along the length of the string.
- Inflate the balloon and pinch the opening to prevent air from escaping. Attach the mouth of the balloon to the end of the straw, ensuring a tight seal.
- Position the rocket at one end of the string, facing in the direction you want it to travel. Make sure there is enough slack in the string for the rocket to move freely.
- When you’re ready to launch, release the pinch on the balloon to allow the air to escape. As the air rushes out of the balloon, it creates thrust that propels the rocket forward along the string.
- Observe and measure the distance the rocket travels. You can experiment with different balloon sizes, amounts of air, and rocket designs to see how they affect the rocket’s performance.
Explanation:
- When the balloon is inflated, it stores potential energy in the form of compressed air.
- When the opening of the balloon is released, the compressed air is expelled from the balloon, creating a force known as thrust.
- The straw serves as a guide for directing the thrust generated by the balloon in a specific direction.
- As the air rushes out of the balloon, it pushes against the surrounding air and propels the rocket forward along the string.
- This experiment demonstrates the principles of thrust and propulsion in a simple and engaging way, allowing children to explore the basic concepts of rocket science through hands-on experimentation.
Experiment 5: Edible Slime
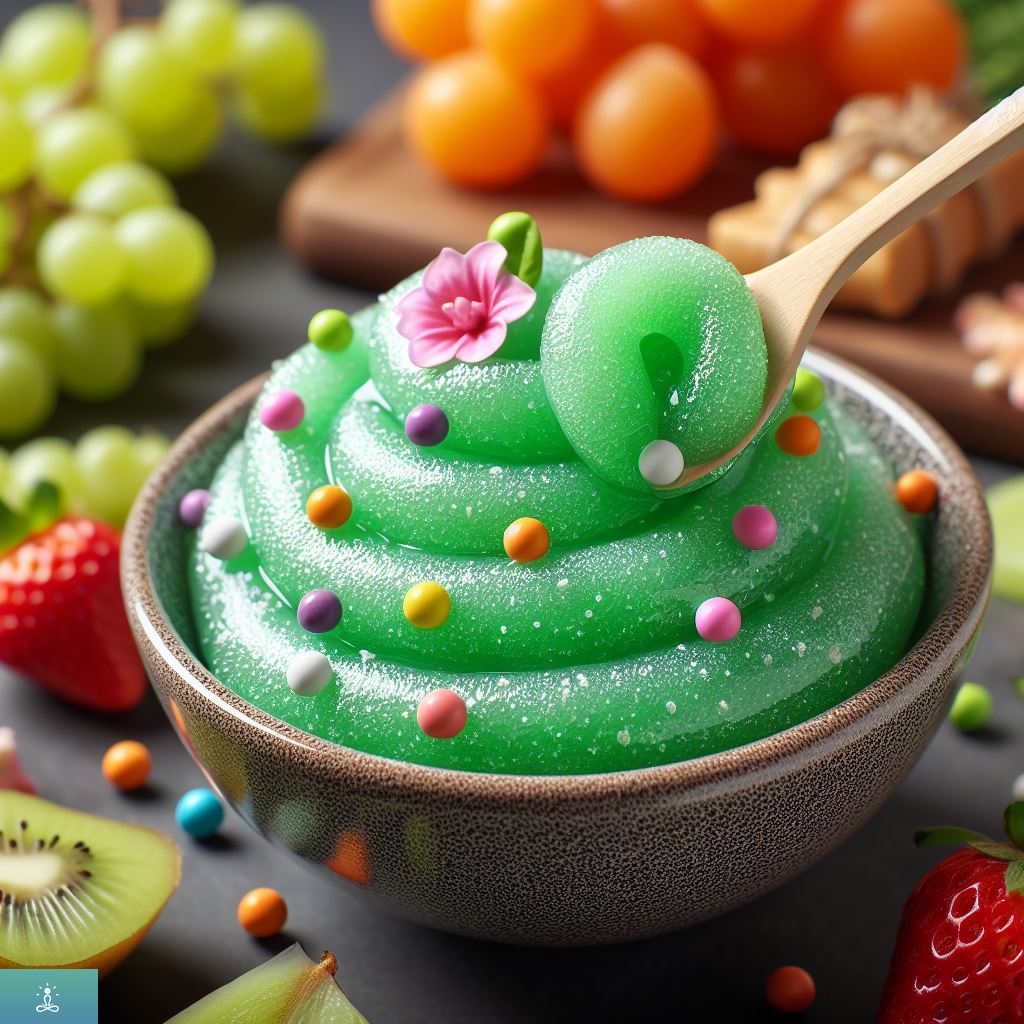
Objective: Create a non-toxic and edible slime using common kitchen ingredients to explore the properties of non-Newtonian fluids.
Materials Needed:
- Cornstarch
- Water
- Food coloring (optional)
- Mixing bowl
- Spoon or spatula
Procedure:
- Start by adding cornstarch to the mixing bowl. The amount you use will depend on how much slime you want to make, but a good starting point is about 1 cup of cornstarch.
- Slowly add water to the cornstarch, stirring continuously. The ratio of cornstarch to water should be approximately 2 parts cornstarch to 1 part water, but you may need to adjust this ratio slightly depending on the consistency you desire.
- Continue stirring the mixture until it reaches a thick, gooey consistency. You want the slime to be able to hold its shape when picked up but still flow like a liquid when poured.
- If desired, add a few drops of food coloring to the slime and mix until the color is evenly distributed.
- Once you’ve achieved the desired consistency and color, your edible slime is ready to play with! You can stretch it, mold it, and experiment with its unique properties.
- When you’re finished playing, store any leftover slime in an airtight container in the refrigerator. It should last for several days before needing to be discarded.
Explanation:
- Edible slime is made from a mixture of cornstarch and water, creating a non-Newtonian fluid with unique properties.
- When pressure is applied to the slime (e.g., when squeezed or picked up), it behaves like a solid and holds its shape.
- However, when no pressure is applied (e.g., when allowed to flow or pour), the slime behaves like a liquid and flows freely.
- This behavior is characteristic of non-Newtonian fluids, which do not follow the typical rules of fluid dynamics.
- By creating and playing with edible slime, children can explore the concept of non-Newtonian fluids in a safe and engaging way while also enjoying a fun sensory experience.
Tutorang’s in touch creativity
Personalized curated classes for science & more
Visit the website, provided the links below to navigate about the offerings at tutorang with our discounted packages!
Here are a few articles written by the third parties who share the more detailed and inter-connected concepts to follow:
- Pretty mature to learn kid’s experiment, go ahead and learn about surface tension.
- Ah, figured these out, try out these!
- Have fun, with a tutorial about magnetic slime!
Links to the articles above are not the endorsements of any SEO companies or services, nor an endorsement of any general advice given by them. We simply found the articles themselves helpful for those who want to conceptualize the topics related to science & related stuff.